Gear Care & Repair
How to Repair Cracks and Leaks in Rubber Boots

Whether you have men or women’s muck boots for yard work or rain boots for your little puddle jumpers, rubber boots are supposed to keep feet dry. When trusty boots start to leak because of a crack or hole, don’t throw them away. Use a shoe repair adhesive and a specialized rubber boot treatment to fix it instead. Bringing your rubber boots back to life is not as hard as you think. Just follow some simple steps using our rain boot care kit, and save your cash for another rainy day.
PREP & REPAIR
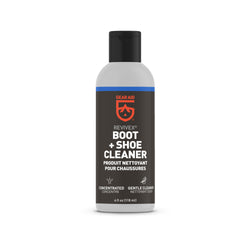
Prep your leaky rubber boot by cleaning it first. Remove all dirt and grime with a low-suds soap like Revivex Boot and Shoe Cleaner and following these cleaning instructions.
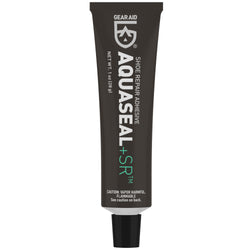
Once your boots are clean and dry begin the repair by finding the hole or crack where the boot is leaking. For example, check high-wear areas like where the ankle bend meets the top of the boot. You’ll basically making a patch with a durable, waterproof shoe glue that cures to a rubber seal.

- Aquaseal SR Shoe Repair Adhesive
- Masking Tape
- Light grain sandpaper
Estimated Time: Application: 30 minutes | Cure: 8-12 hours
- To ensure a good bond, use some sandpaper to rough up the repair area.
- Use your tape to mark off the area around the crack that you will be applying Aquaseal SR on.
- Apply Aquaseal SR to the crack or hole on your rubber boot. Make sure that the crack/hole is completely covered by the adhesive and covers 0.5” beyond the crack (1” for a hole) to prevent it from growing.
- Allow the boot to dry on a flat surface for 30 minutes.
- Remove the tape and allow the repair to fully cure (8-12 hours).

PRO TIP: Aquaseal SR is also great for fixing delaminated soles, building toe caps, flexible knee patches, and rebuilding worn soles.

CONDITIONING & CARE
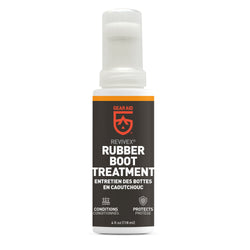
Have you ever noticed white marks or ashy gray streaks on old or even new rubber boots? This is a normal process called "blooming." While blooming is characteristic of natural rubber, they aren’t very nice to look at. Here’s how to properly remove unsightly streaks using a rubber conditioner.

- Revivex Rubber Boot Treatment
- Applicator Cloth
- Brush
- Optional: Revivex Boot and Shoe Cleaner
Estimated Time: Application: 30 minutes
- Clean boot by removing dirt and mud with soap and water or use Revivex Boot and Shoe Cleaner.
- Shake Revivex Rubber Boot Treatment bottle, press down sponge, and squeeze to saturate applicator.
- Spread a thin, even coat on the boot. Apply a second coat for extra conditioning and protection.
- To remove stubborn streaks/bloom, scrub boot with a brush.
- Allow boot to dry.

PRO TIP: Have plastic or neoprene boots? Revivex Rubber Boot Treatment can also condition and prevent sun damage to such gear.


