

There’s nothing better than being cozy inside your tent, listening to the crickets and cicadas serenade you to sleep— that is, until you wake up a few hours later wet from a previously undiscovered leak. To better protect you on your future camping trips, it’s crucial to waterproof and seam seal your tent, so you don’t accidentally wake up in a puddle or ruin your gear.
There are four main types of problems that tent dwellers typically encounter when outdoors:
- Water coming through the seams, which need to be sealed.
- Water soaking through the rainfly, which needs a water repellent coating.
- Water soaking through the tent floor, which indicates the PU coating is peeling away.
- Condensation building up while you’re asleep, which means you need to open the zipper up to allow more airflow.
No matter what type of tent you have and what type of leak-proofing you need, GEAR AID will help you waterproof gear and keep you dry. Whether it’s camping in the beautiful backdrop of Yosemite or setting up a tent in your very own backyard, stop leaks before they happen.
Here’s how to do simple, yet permanent fixes on your tents and tarps so you can confidently get back to sleeping peacefully in the great outdoors.
Seal Seams
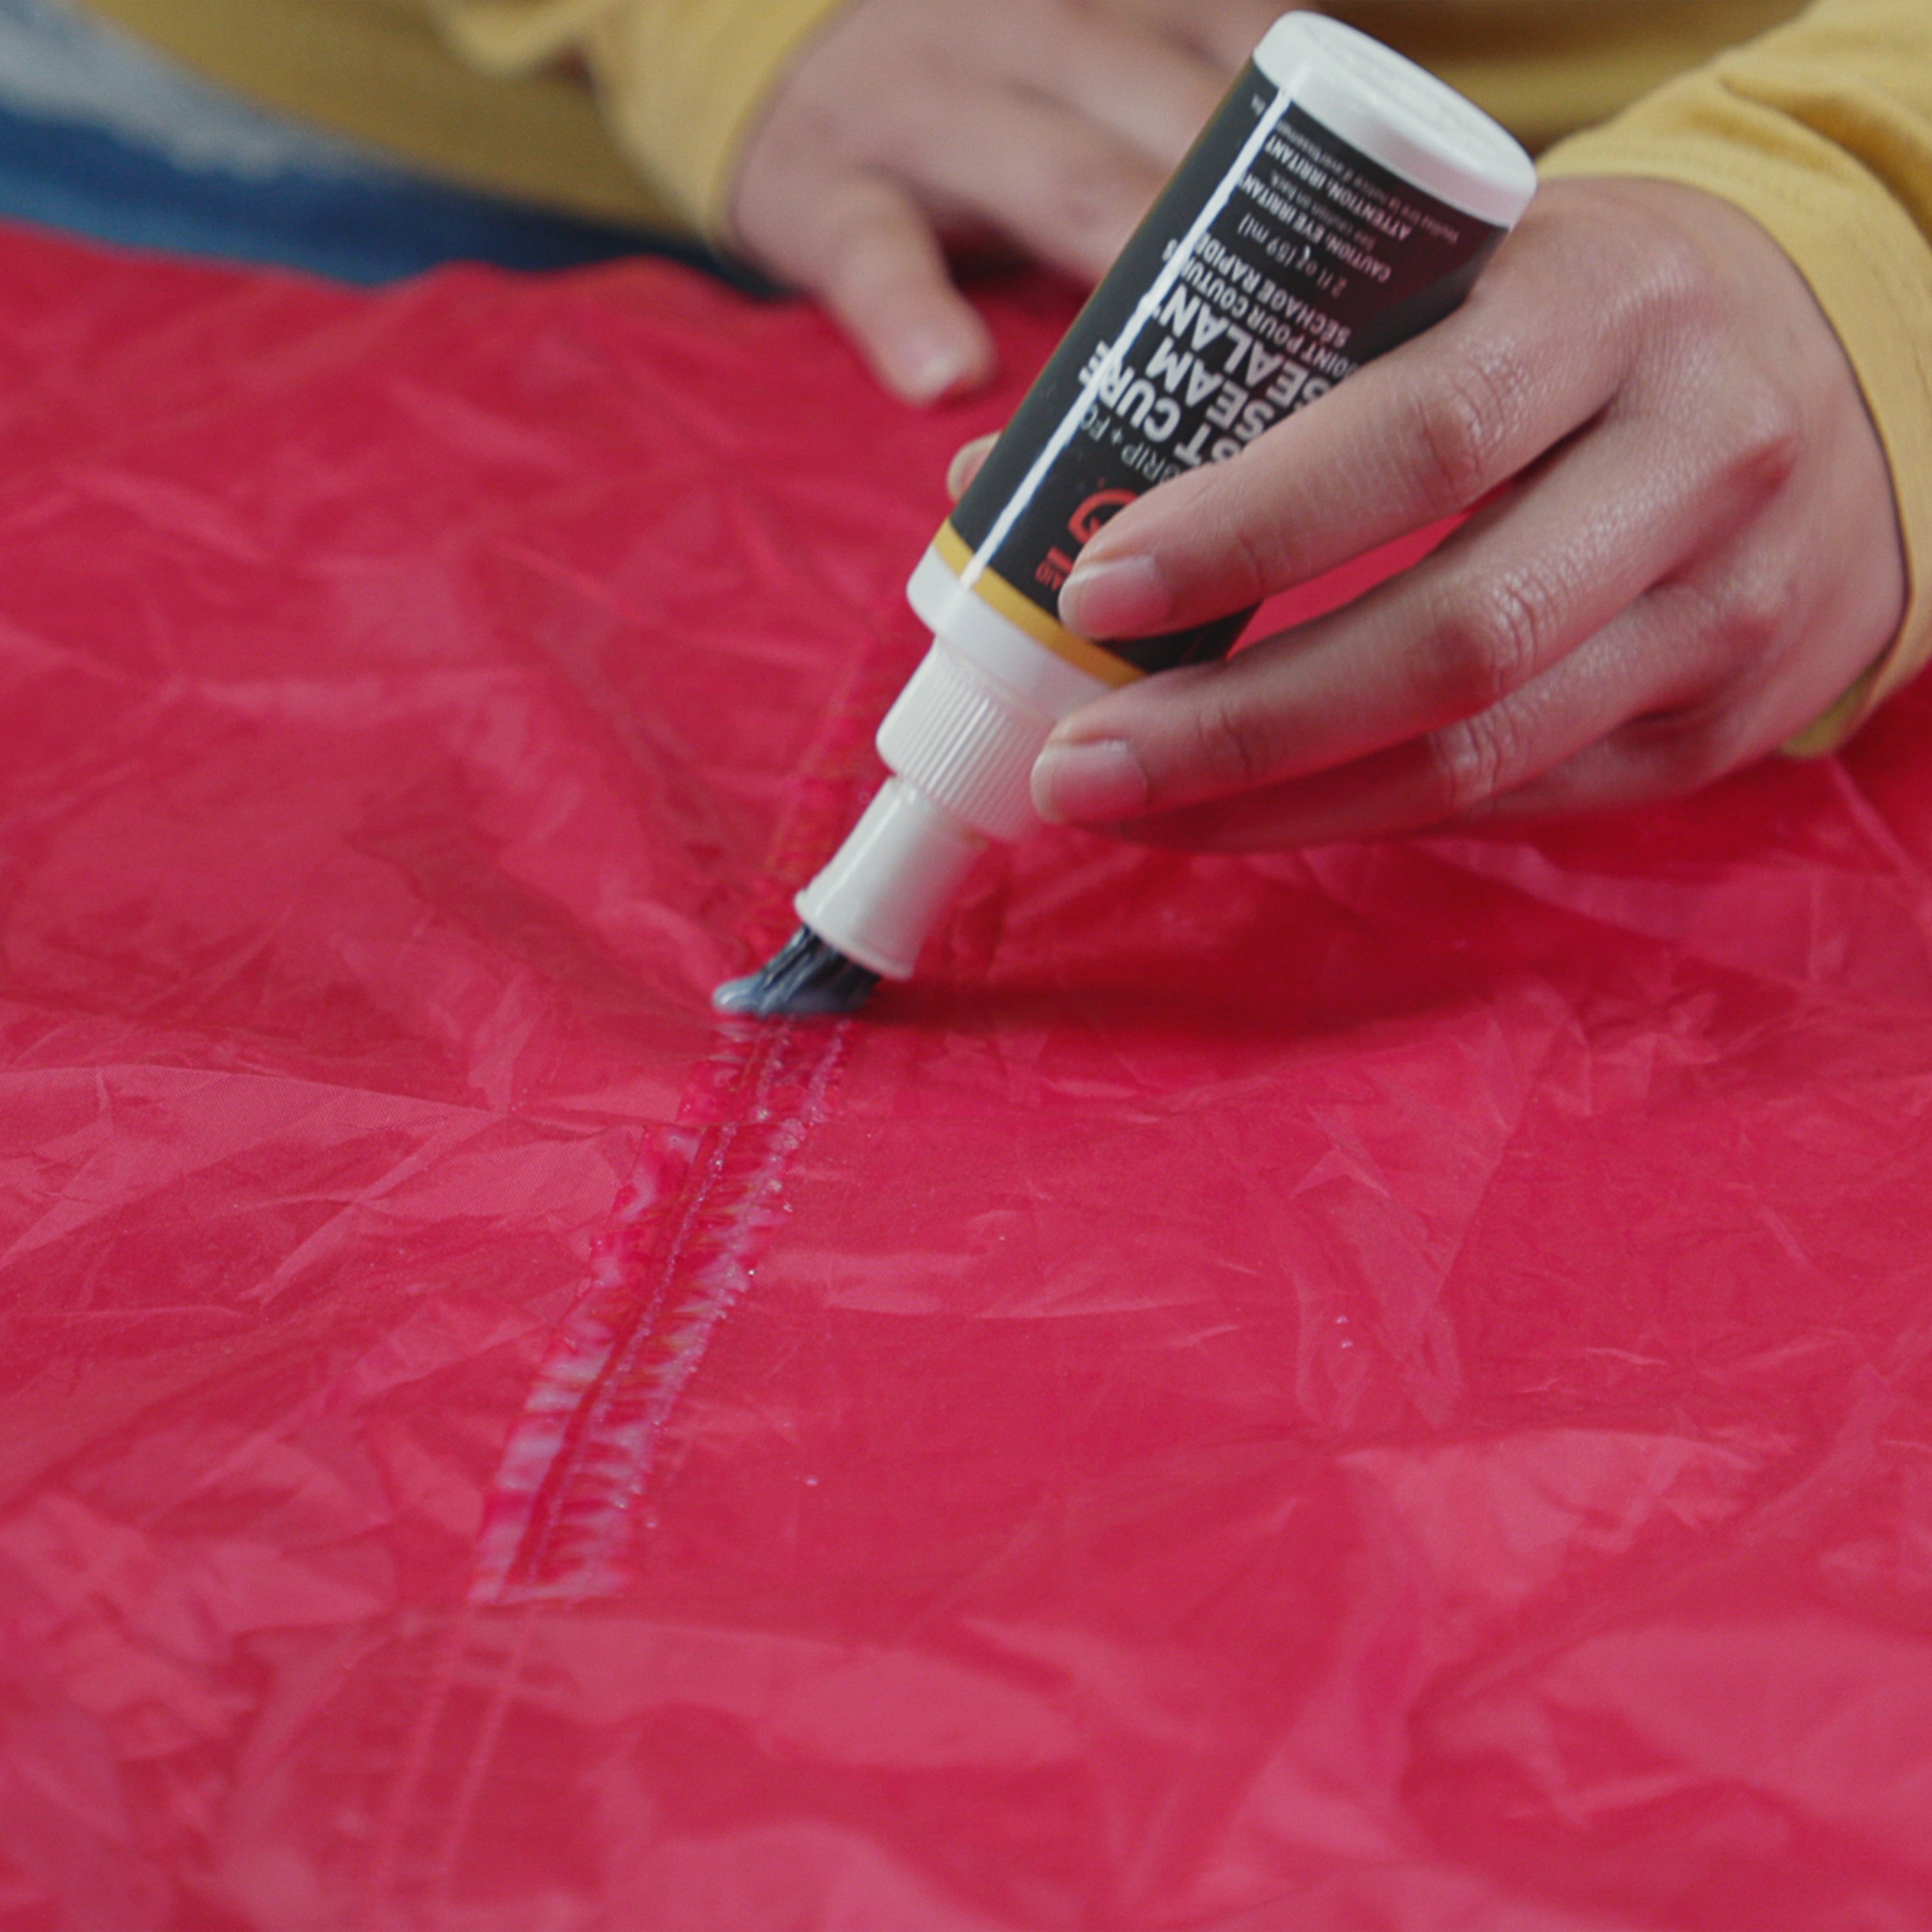
It’s unlikely that you prefer to sleep in a puddle—so when you find a pesky loose or busted seam in your tent, you should seal it up right away. No matter what type of seam sealing project you are about to tackle, Seam Grip sealants acts as a barrier and makes tents, tarps, and awnings completely waterproof. The key to getting this DIY project done correctly is to select the right sealant for your type of fabric as well as the location and size of the treatment area.

- Bowl of cold water
- Non-abrasive sponge
- Revivex Pro Cleaner or mild liquid soap
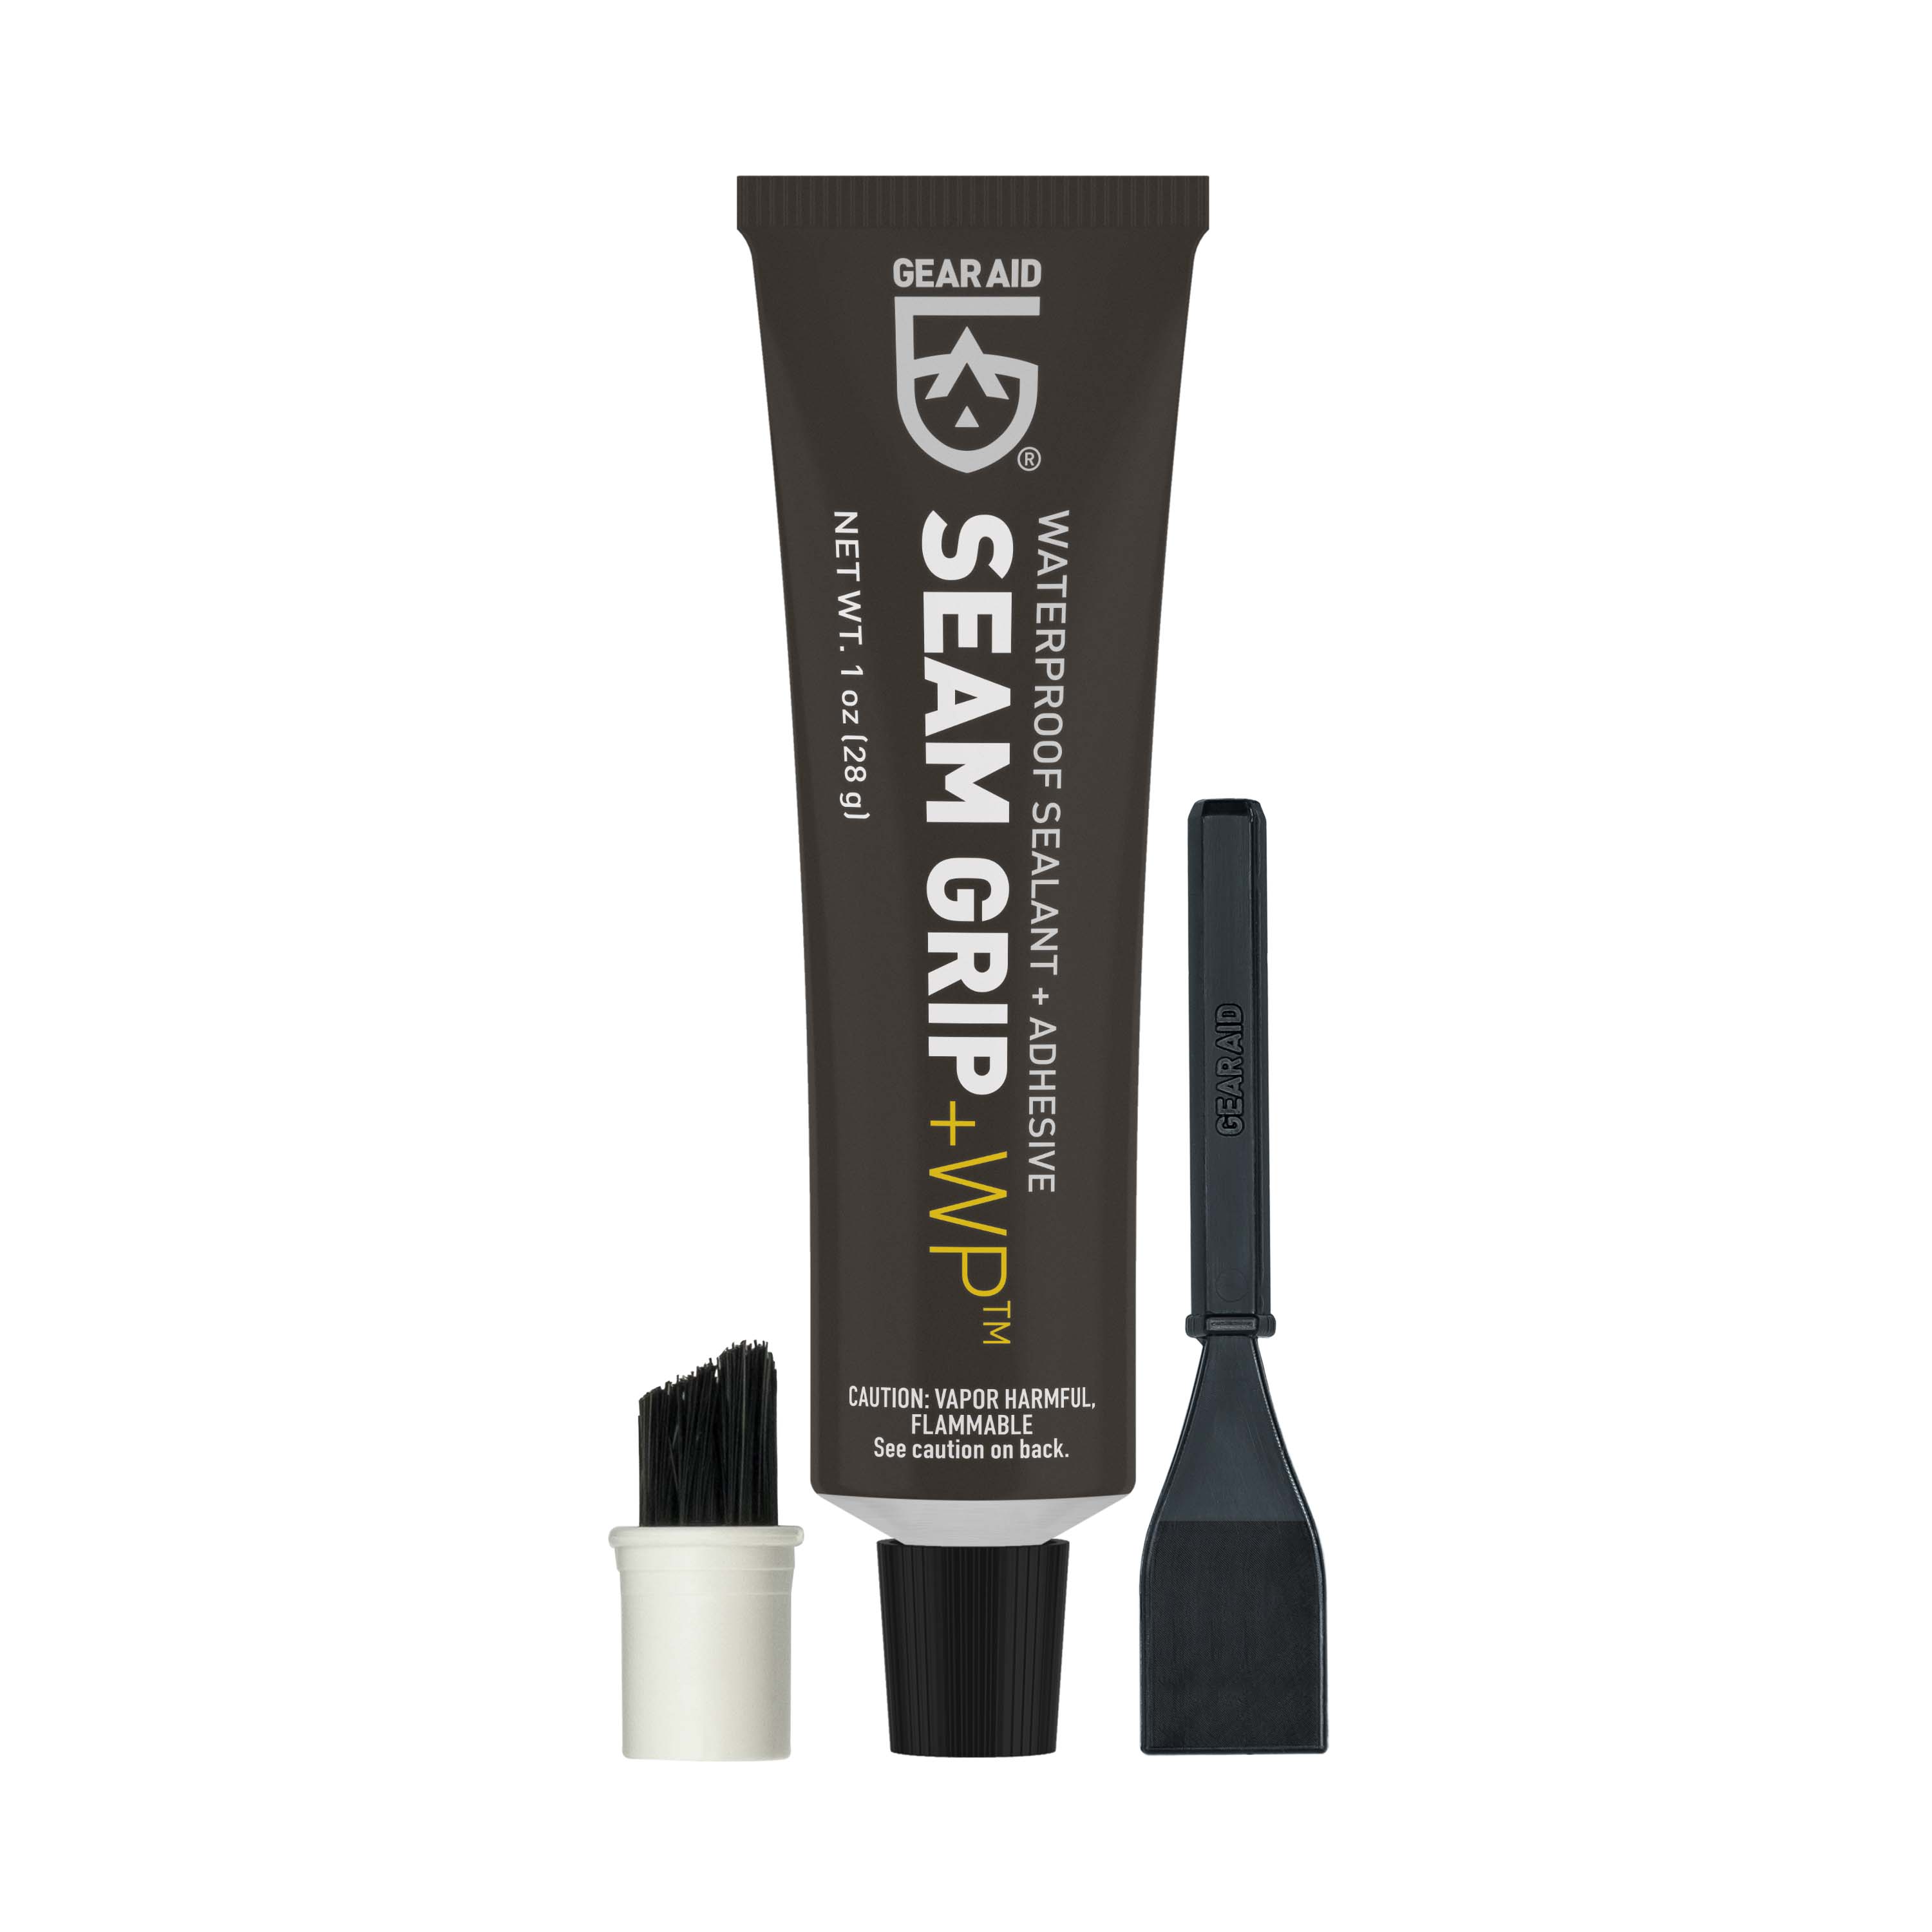
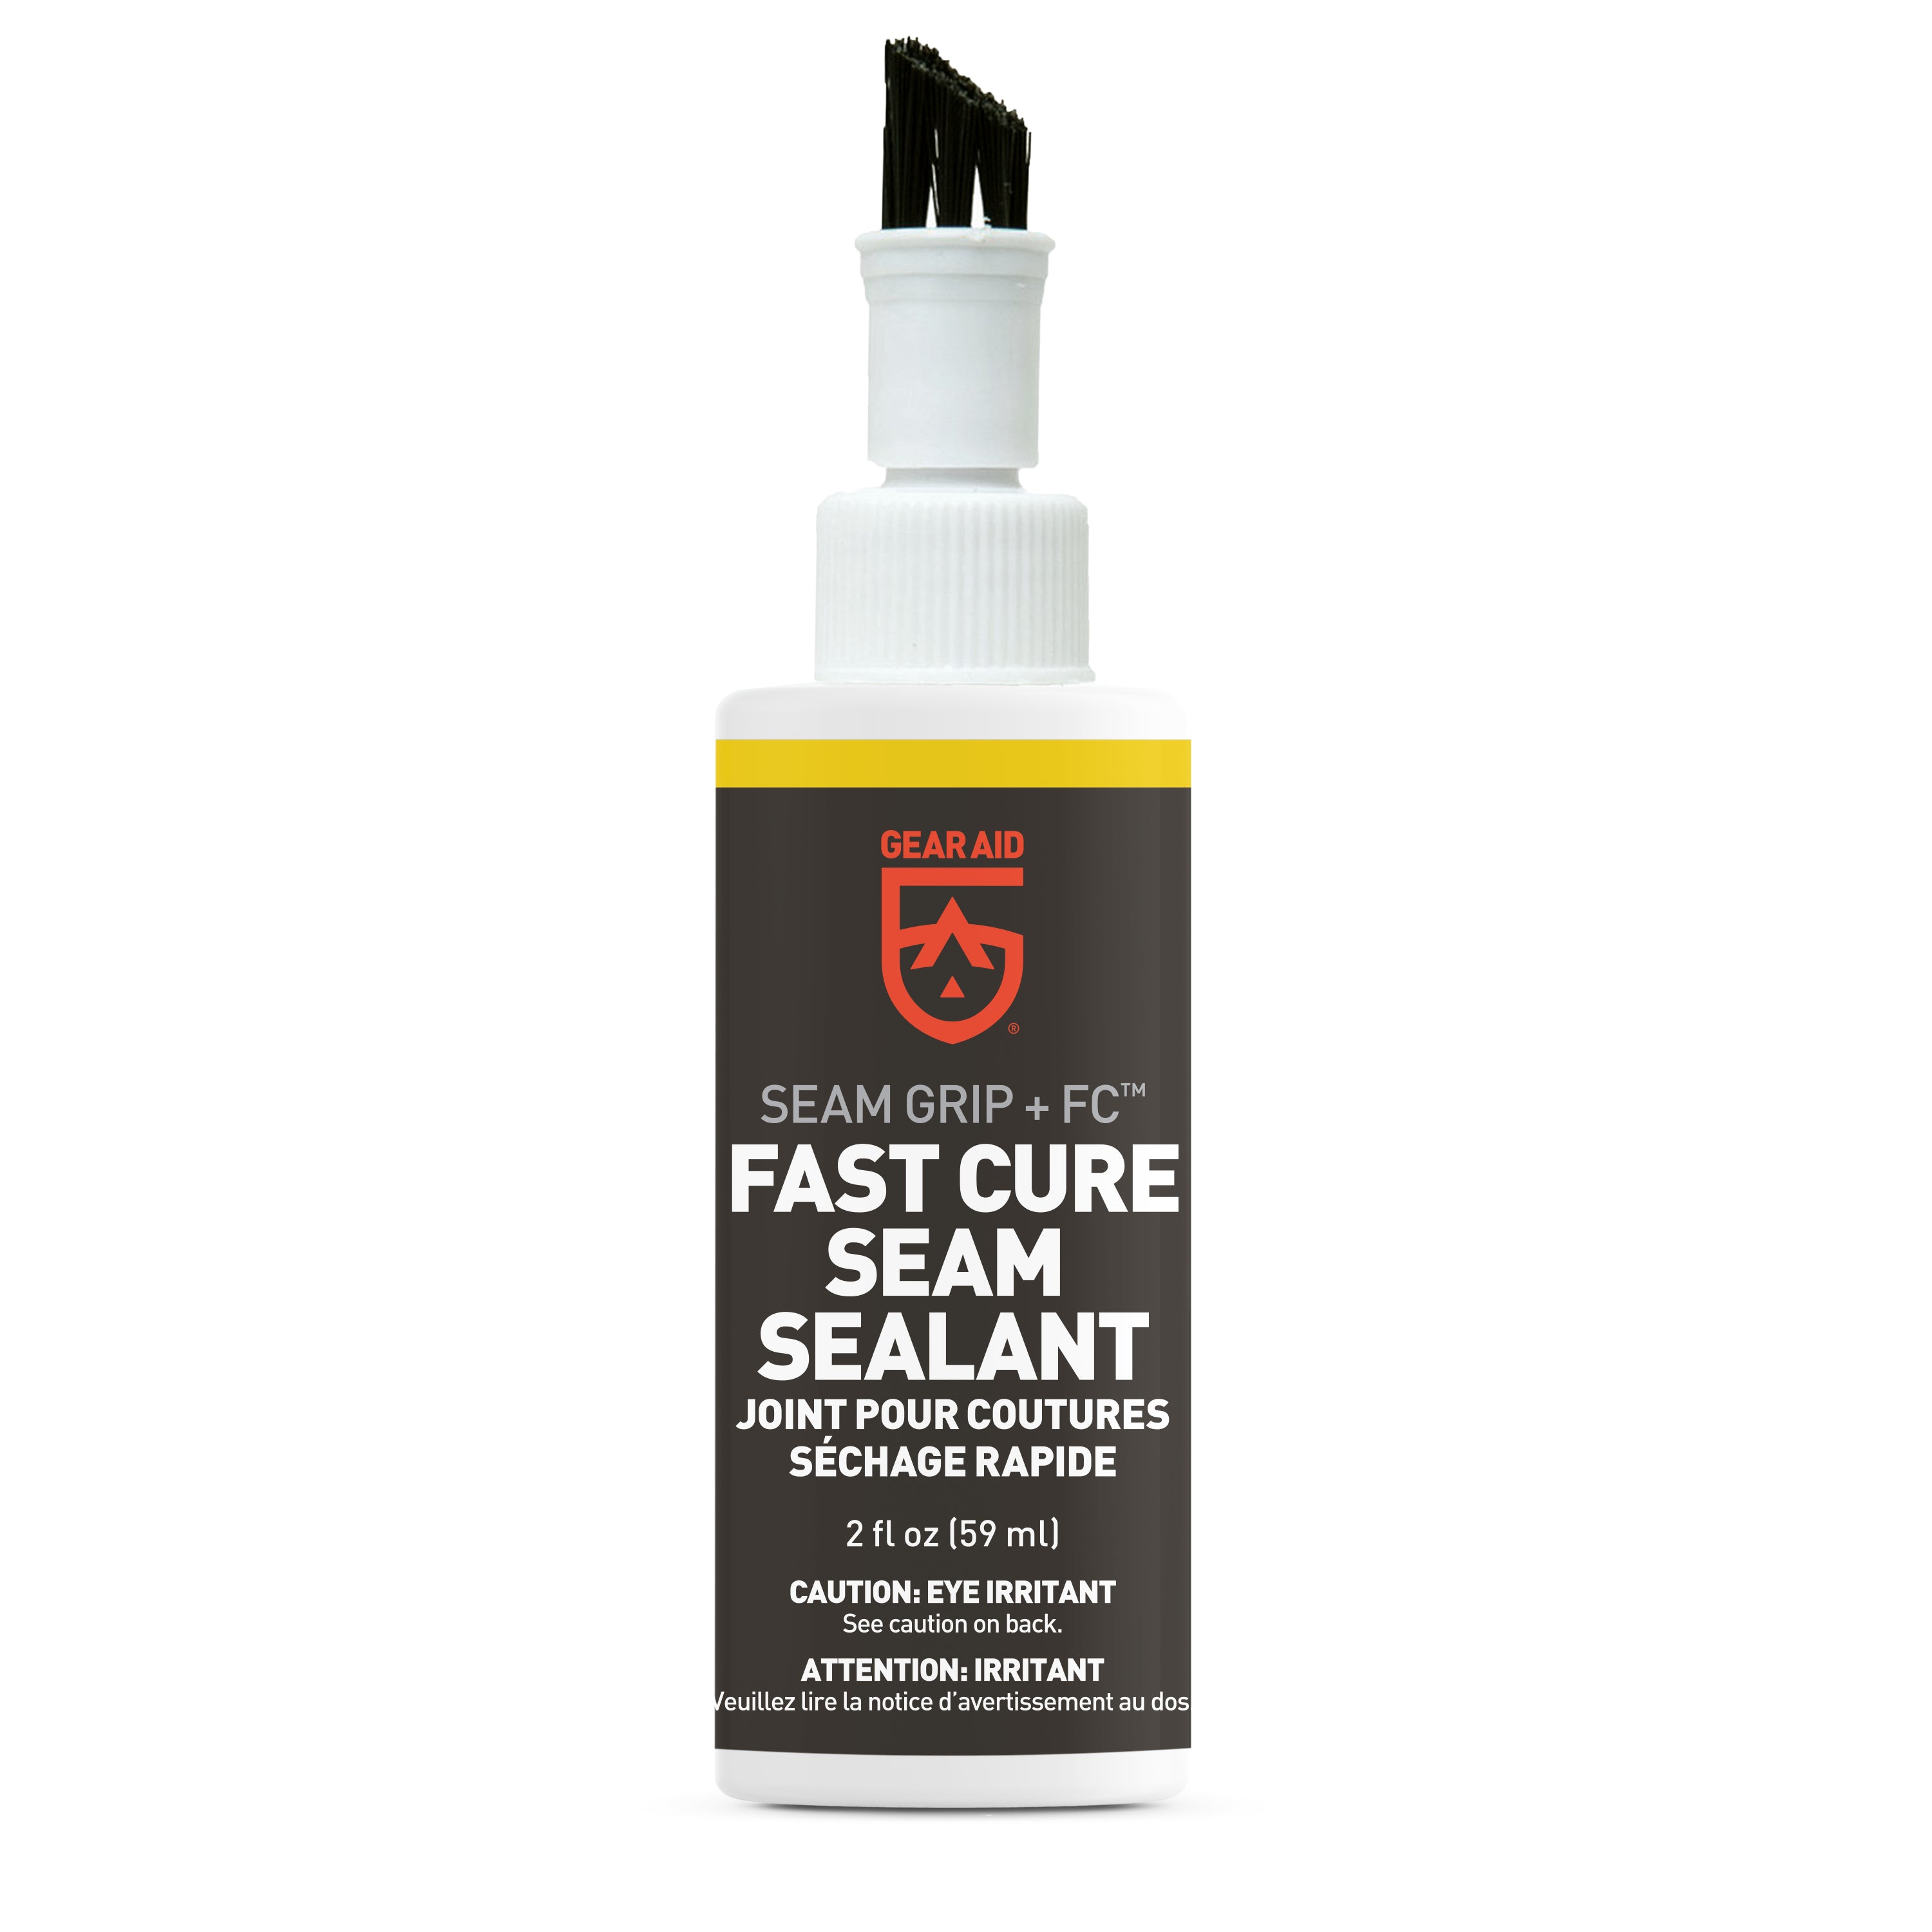
- Seam Grip WP, Seam Grip FC, or Seam Grip SIL Waterproof Sealant
Estimated Time:
Application: 20 minutes
Cure time: 2–12 hours, depending on the sealant
Steps:
- Set-up your tent in the garage or the backyard. If sealing a rainfly, lay it down flat with the underside facing up.
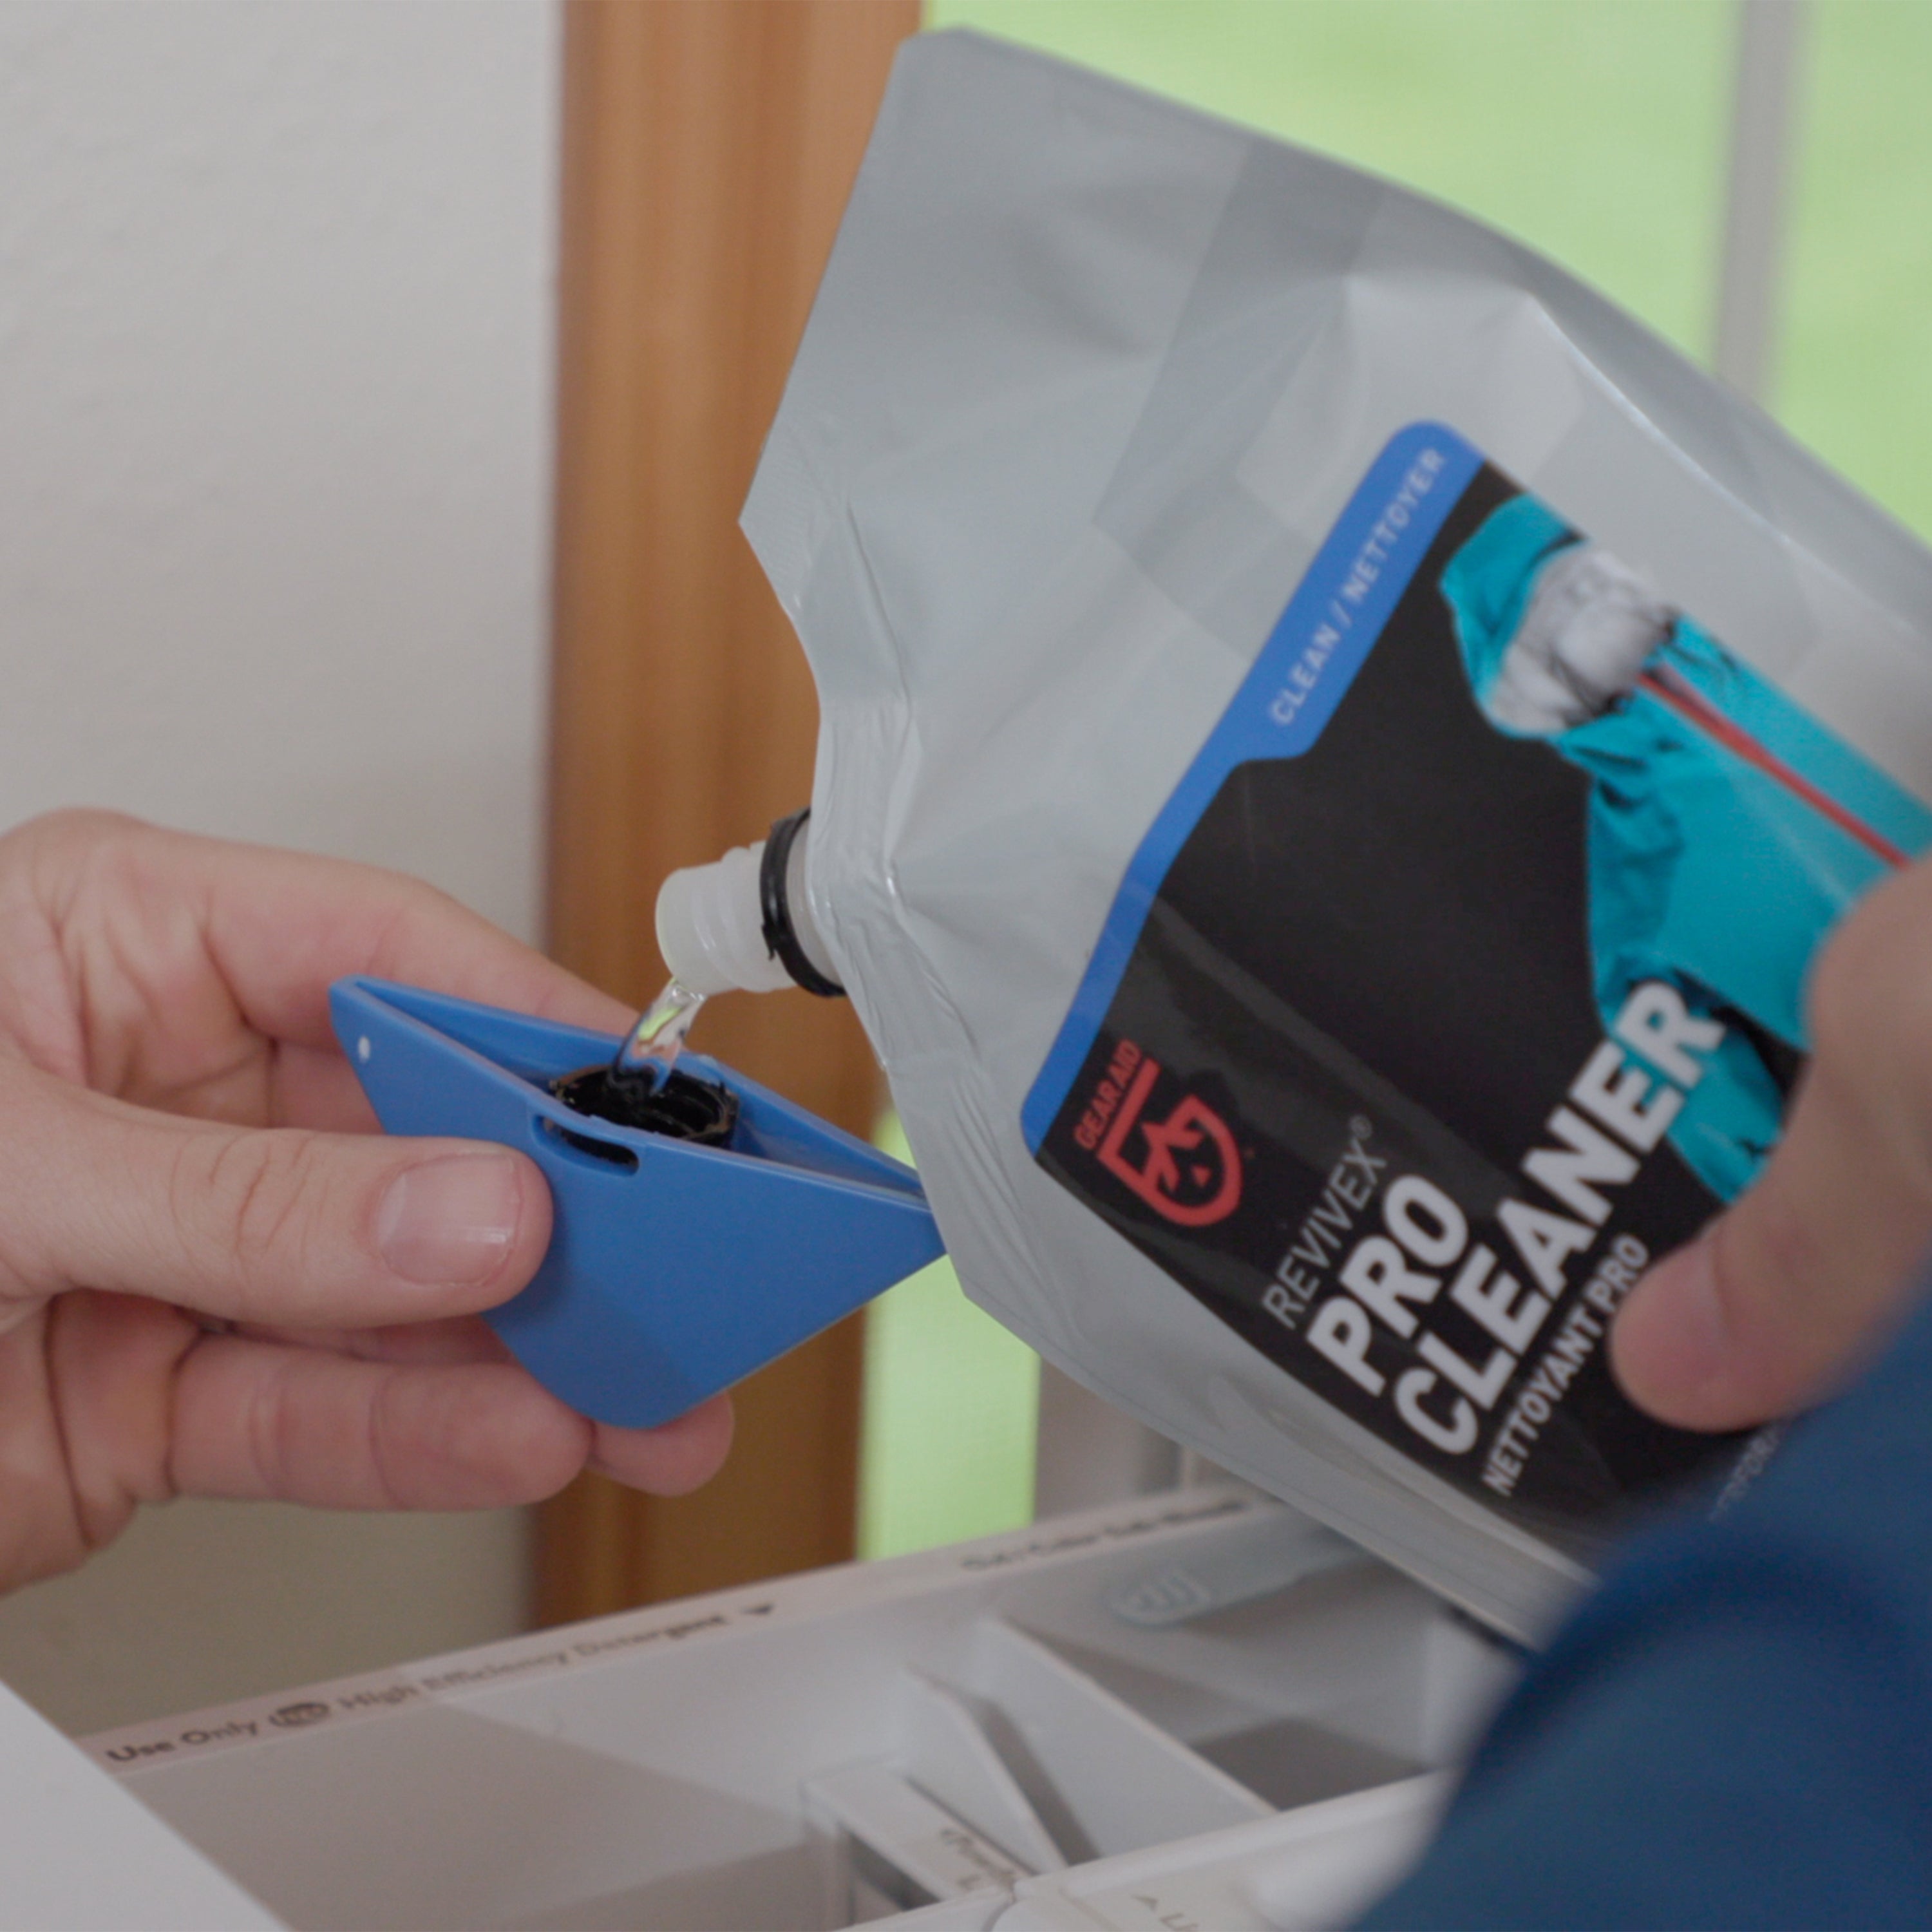
- Mix your bowl of cold water with 1 fluid oz of Revivex Pro Cleaner.
- Using a wet cloth or sponge with your solution, wipe down the seams you are going to seal.
- Select the appropriate Seam Grip seam sealant and apply a thin film to the outside seams with the included brush. Use a silicone-based sealant for sealing a silnylon tent or tarp (see table below for reference).
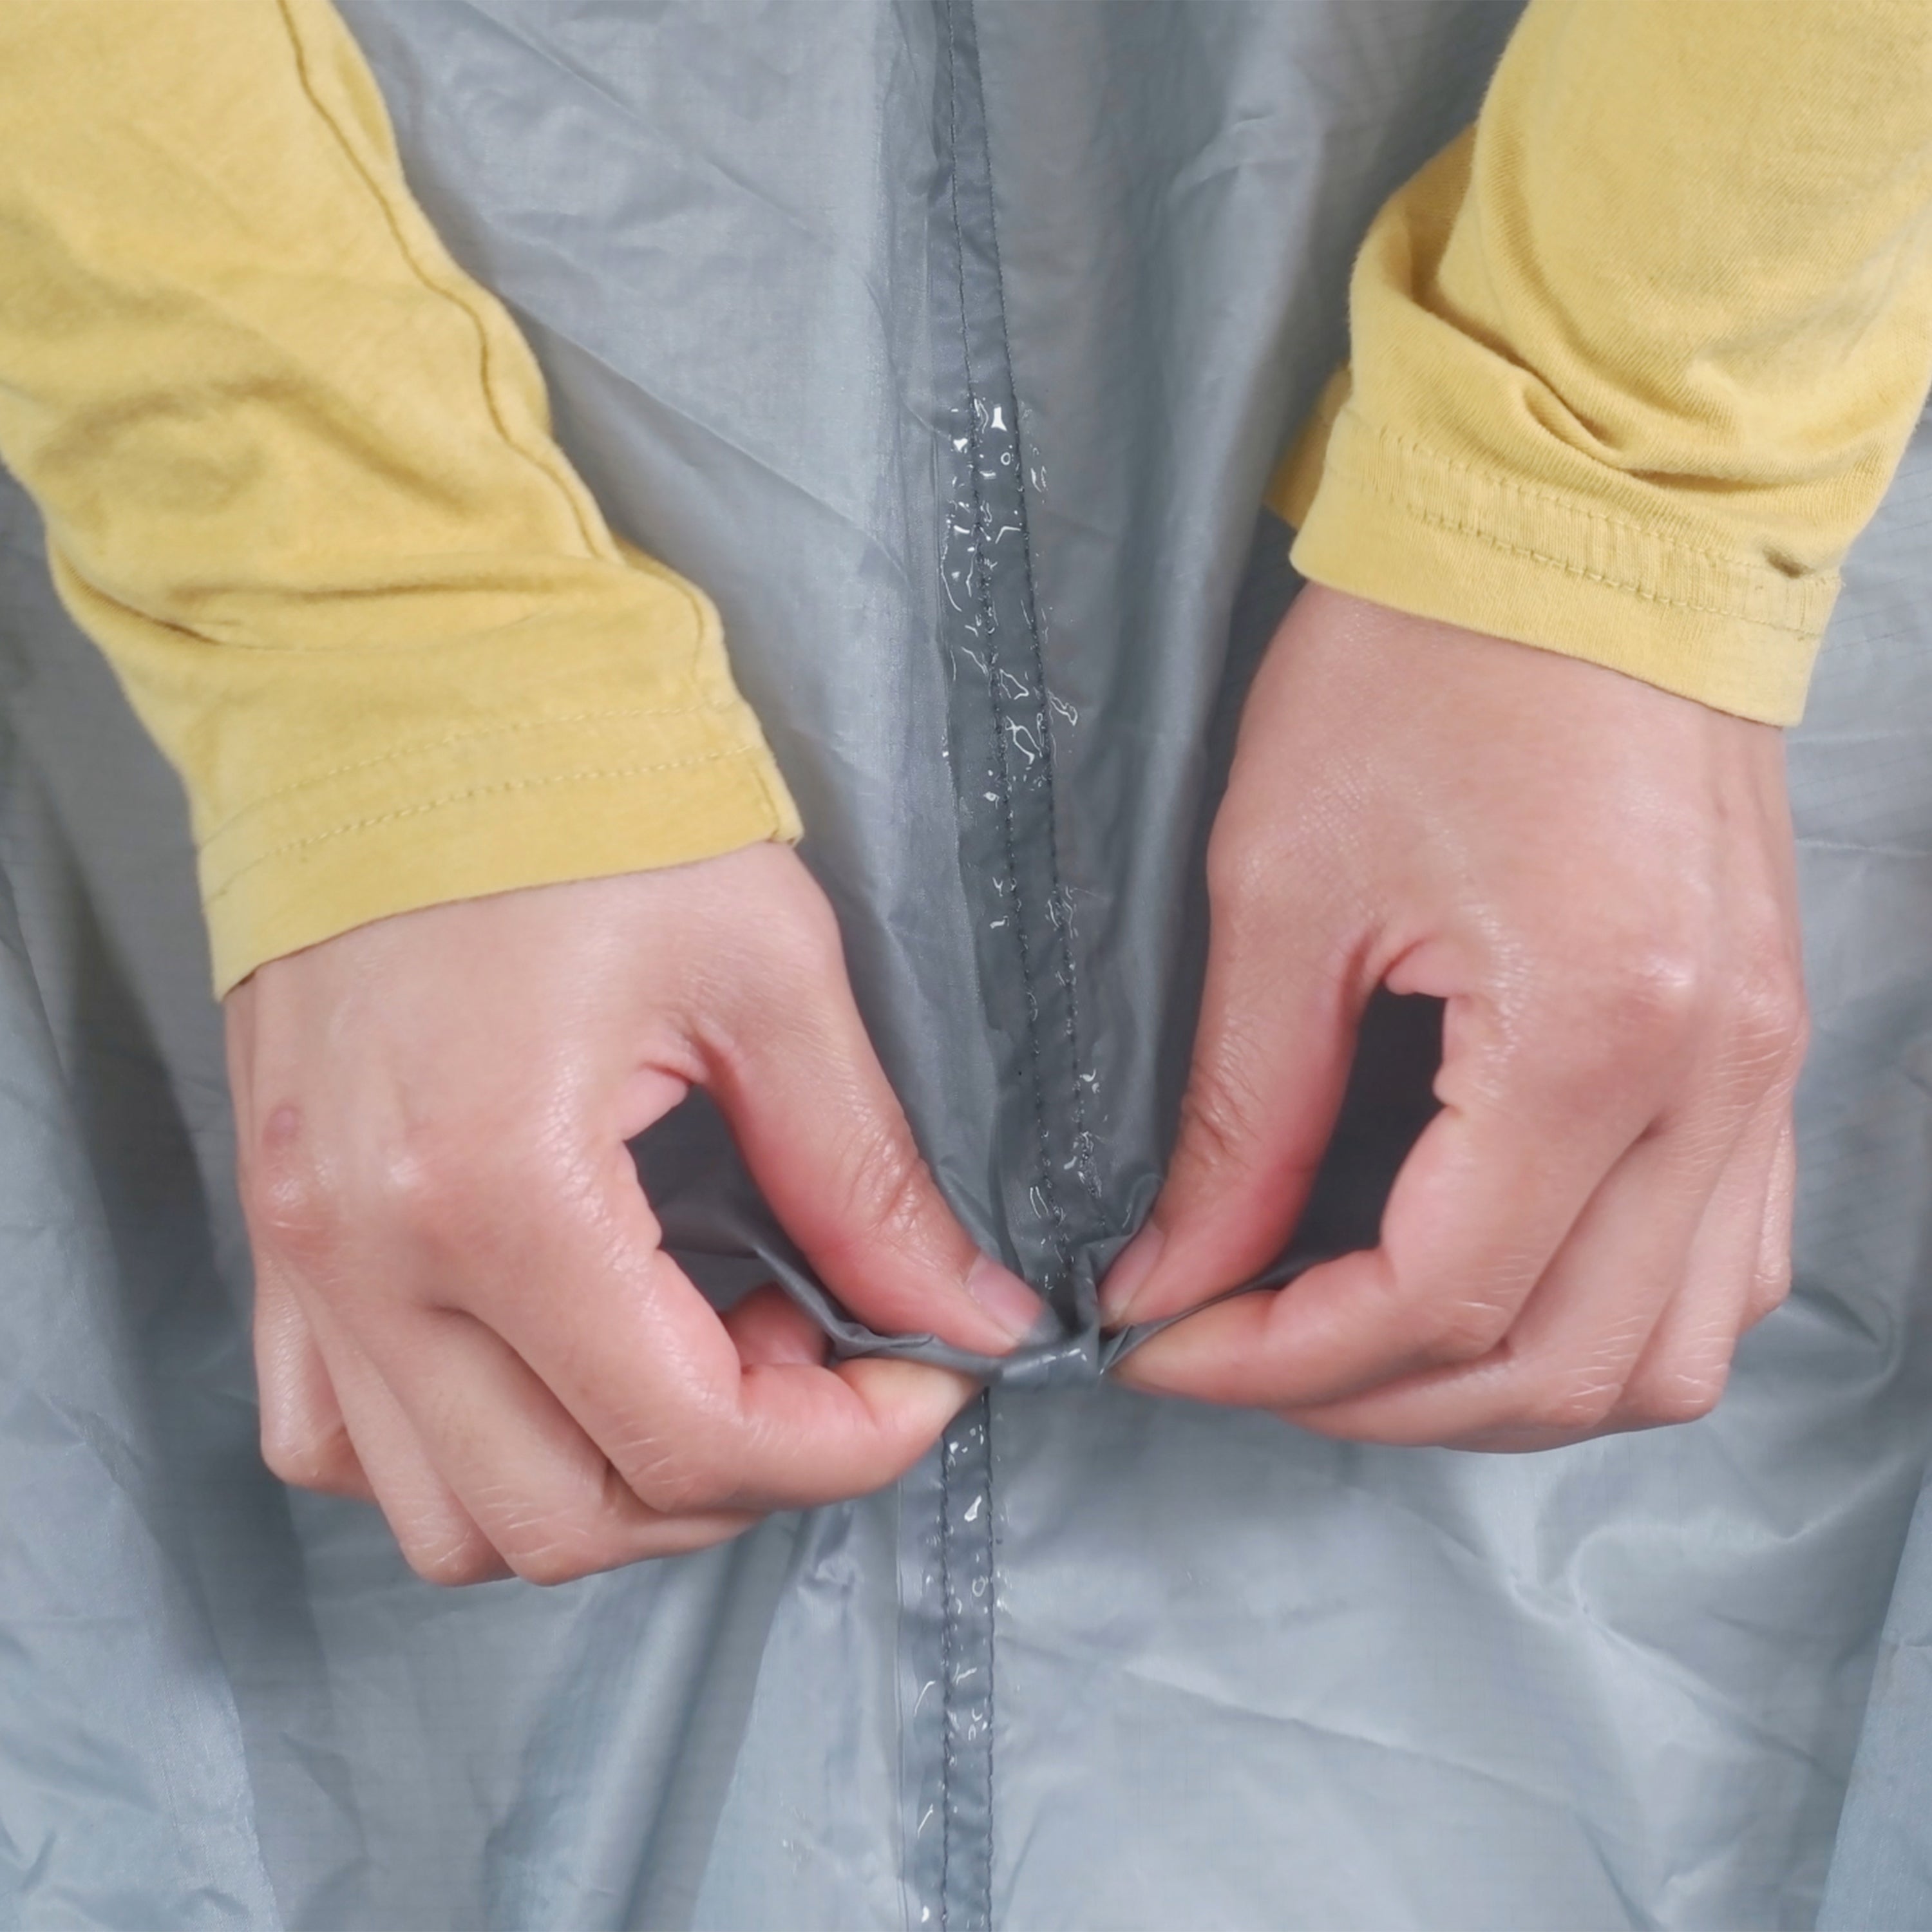
- Keep level and let cure per the instructions on the packaging (about 2-8 hours).


Pro Tip: To prevent the seams from sticking together, add talcum powder over Seam Grip WP after it’s cured.
 Waterproof a Rainfly
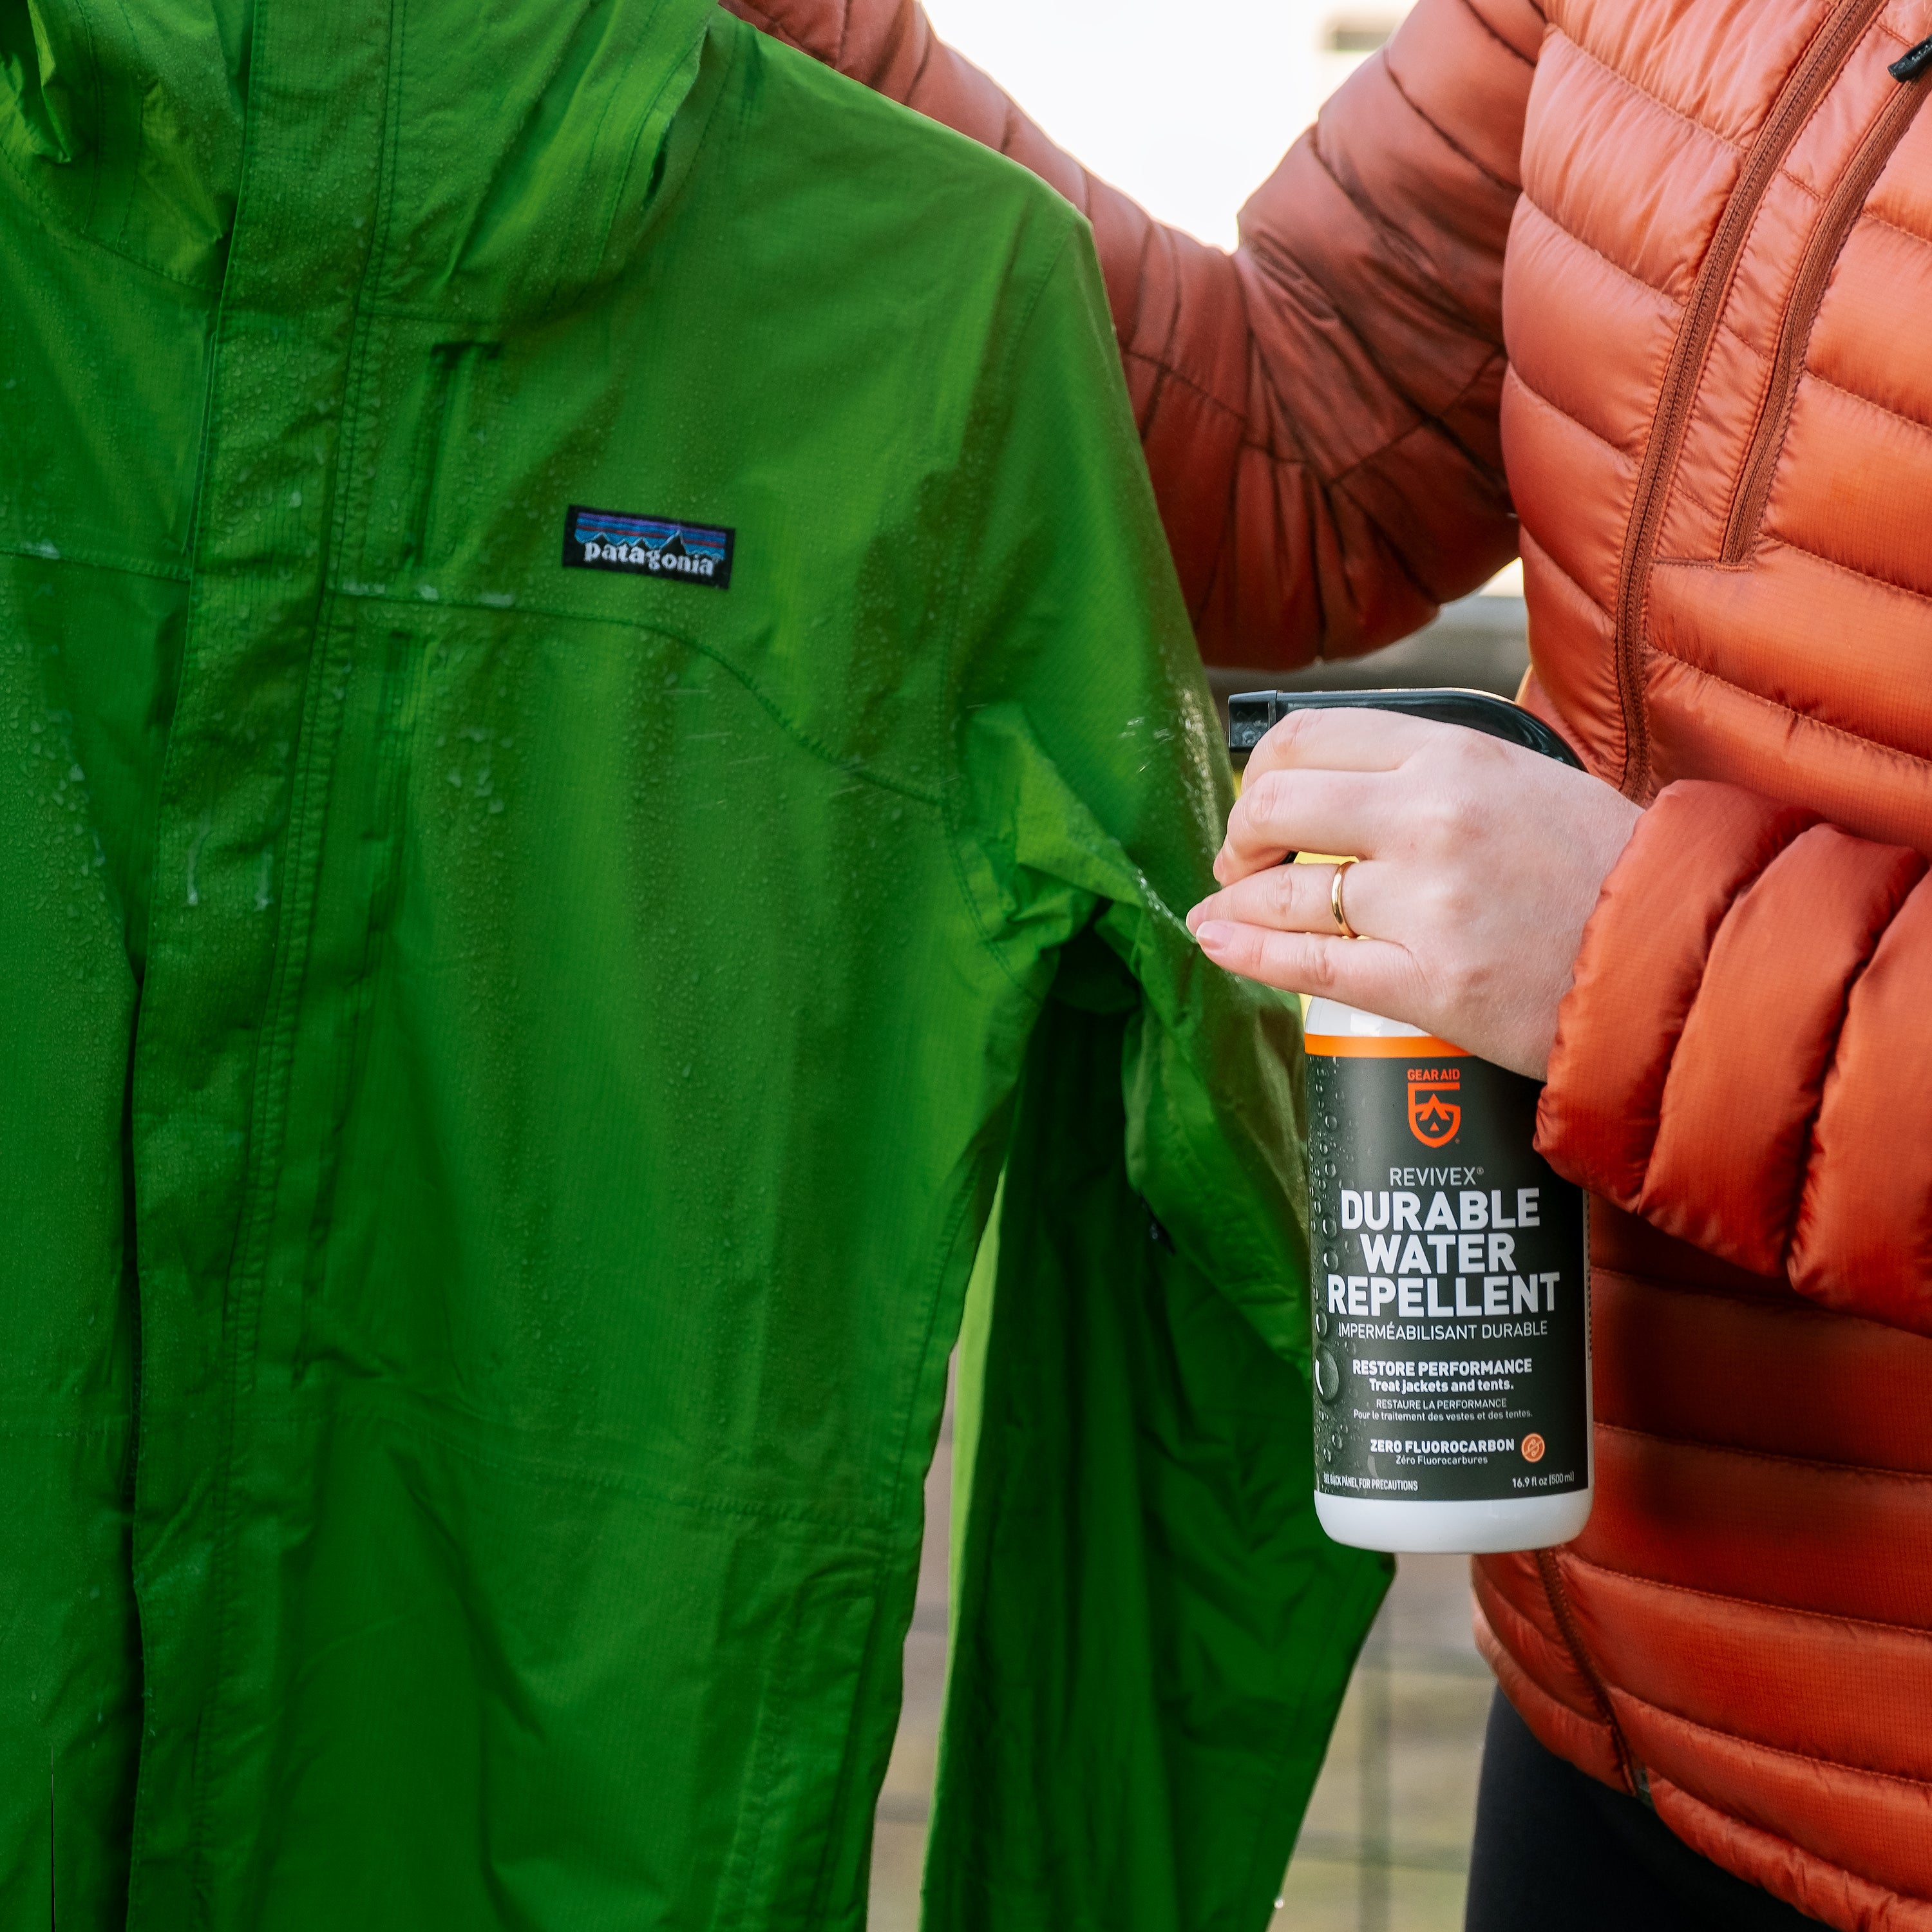
A rainfly is supposed to act as an extra barrier between your sleeping bag and mother nature, but even they can become susceptible to wear and tear over time. Luckily, sealing nylon from top to bottom is simple enough with a combination of Seam Grip and Revivex. Once you’re done with sealing any loose seams, complete the reproofing process with Revivex Durable Water Repellent Spray which is a spray-on water repellent, and sleep soundly in your completely safe and dry tent.
What You’ll Need:
- Bowl of cold water
- Non-abrasive sponge
-
Revivex Pro Cleaner or mild liquid soap
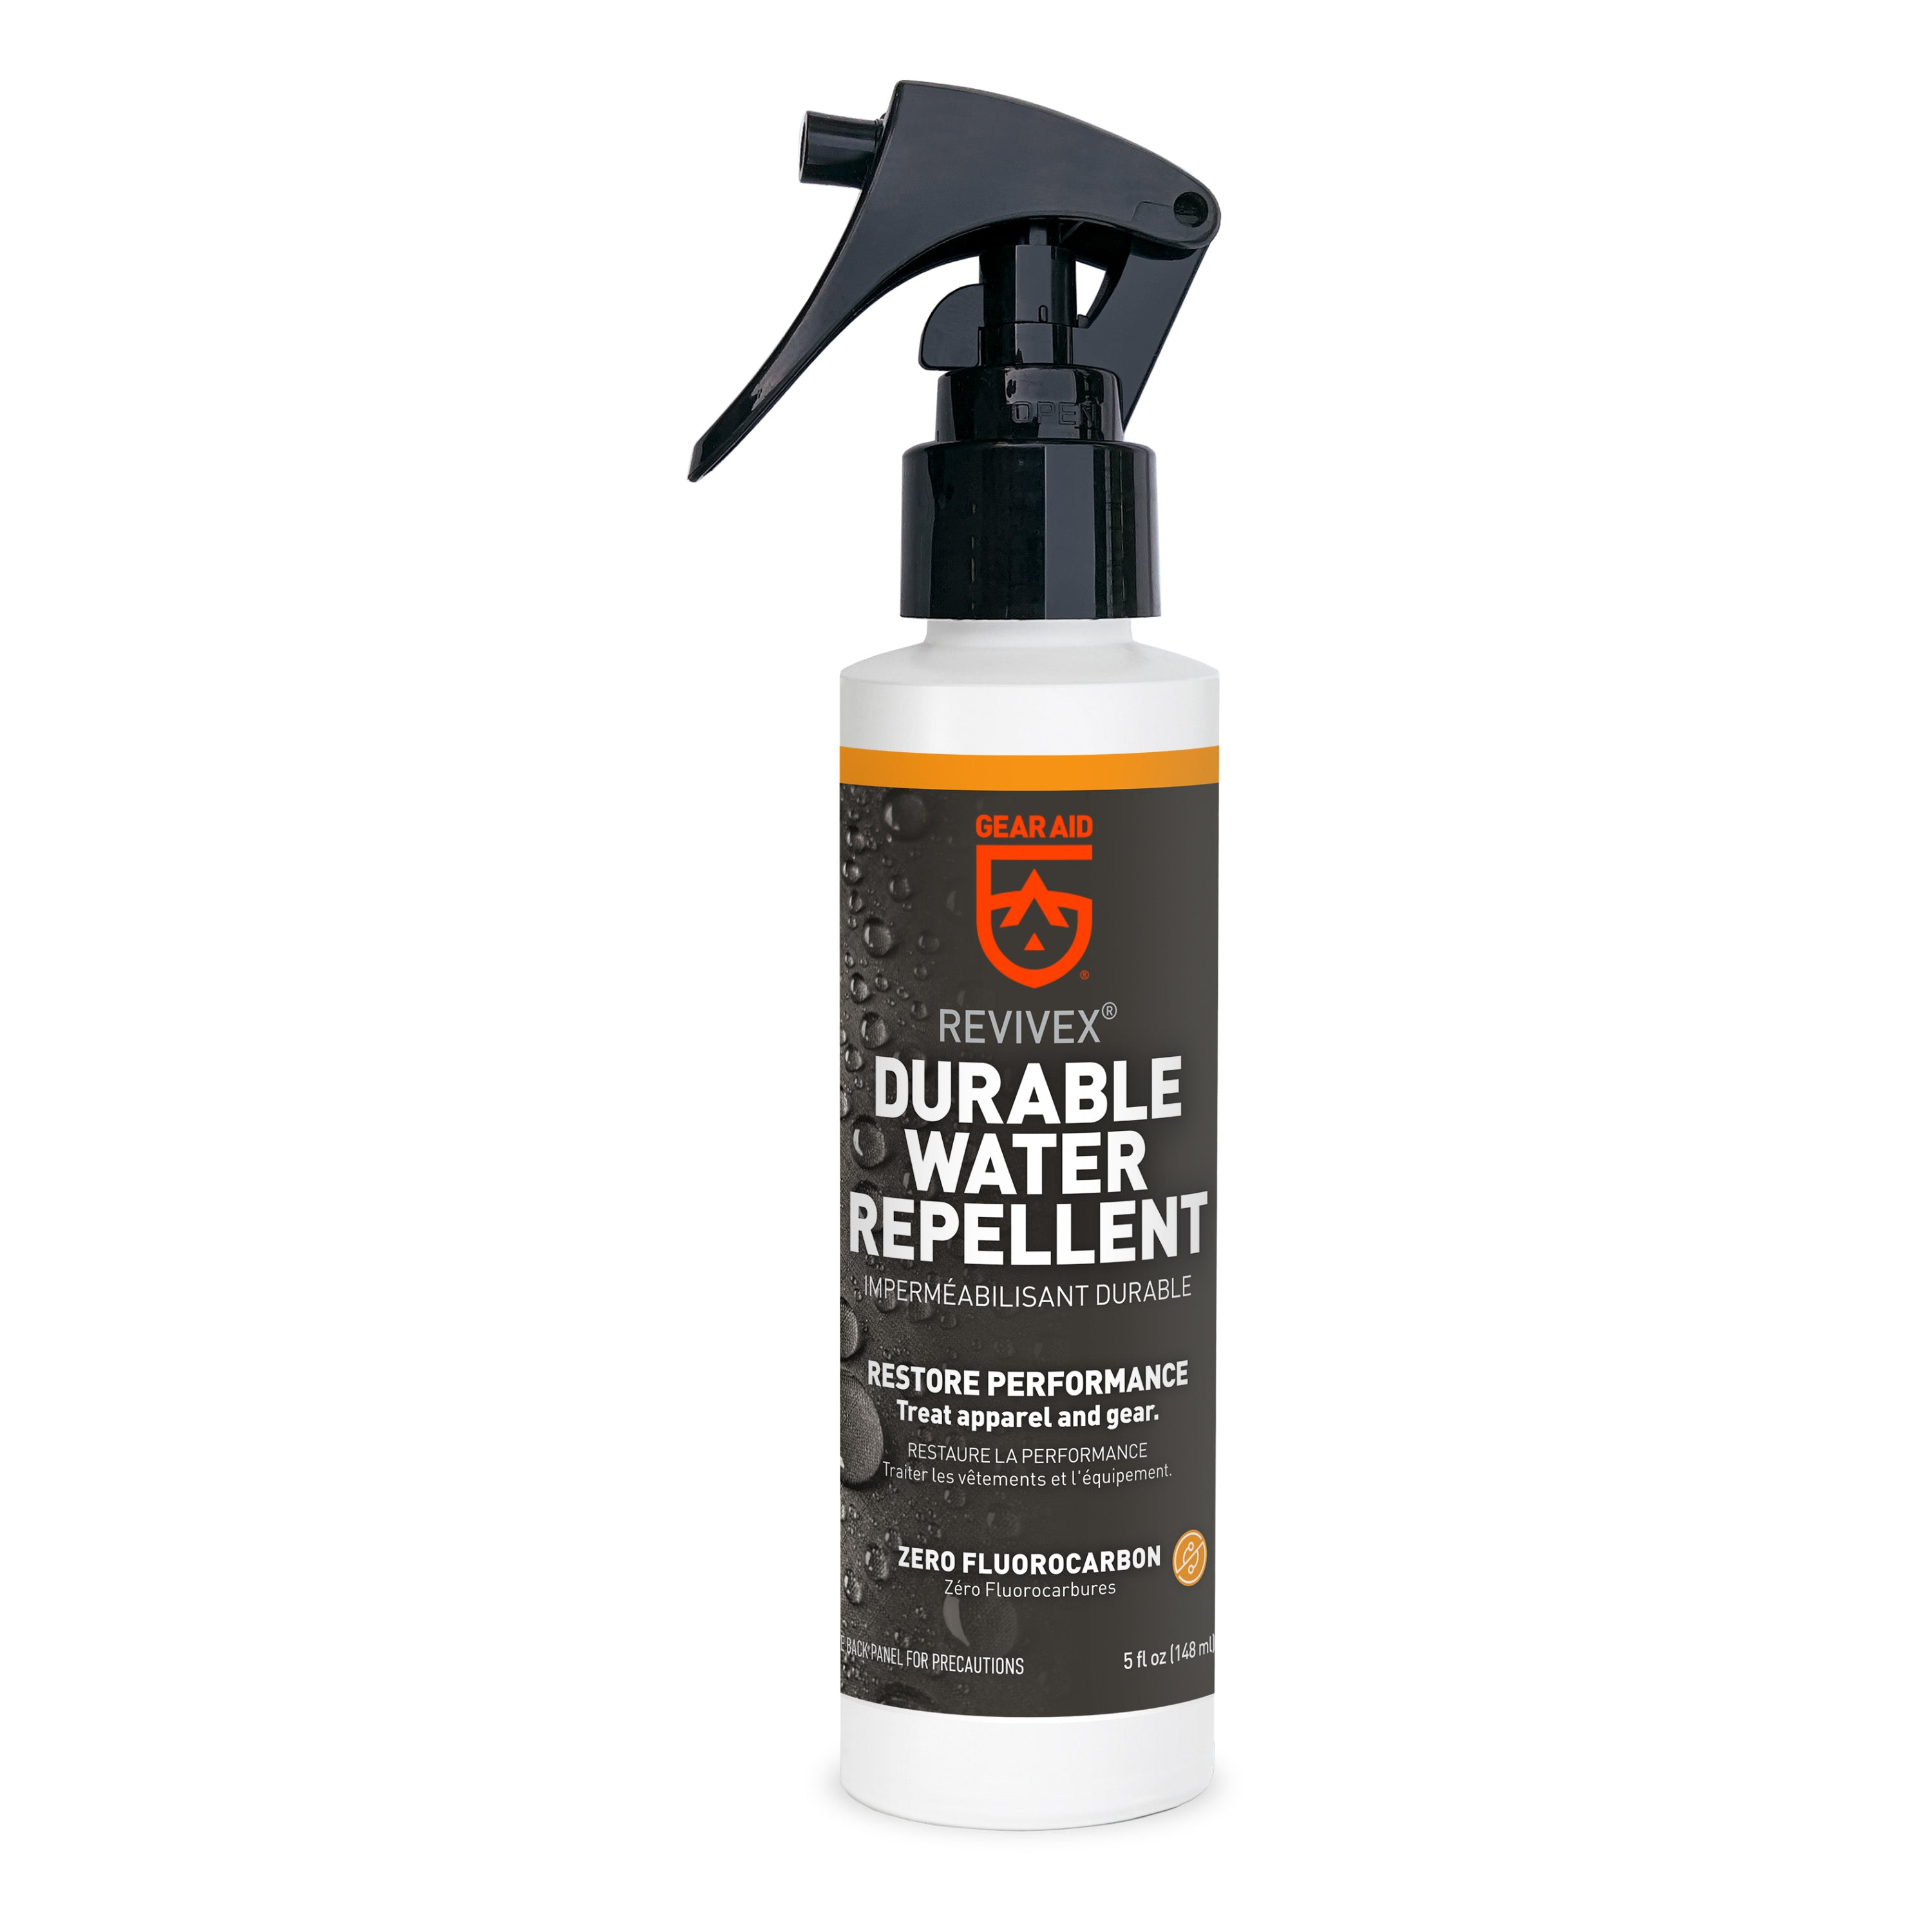
- Revivex DWR Spray
Estimated Time: 10-15 minutes
Steps:
- In a well-ventilated area, lay your rainfly flat with the top side facing up.
- Add 0.5 fl oz of Pro Cleaner in your bowl of cold water.
- Wet your sponge with the solution and clean the rainfly in its entirety.
- Once the fabric is clean, spray on Revivex DWR Spray.
- Ensure the fabric is completely dry before packing away in order to avoid mold or mildew growth.
 Re-Coat a Tent Floor
Water doesn’t always just come through the top of your tent—it can also sneak its way up from the ground. It’s a situation that’s sure to wake you up quickly (and uncomfortably) from a peaceful sleep. To prevent water from seeping up through the bottom of your tent, use Seam Grip TF to restore the polyurethane (PU) protective coating.
- Dry brush
- Isopropyl alcohol
- Revivex Pro Cleaner or mild liquid soap
- Seam Grip TF Tent Fabric Sealant
Estimated Time:
Application: 15-30 minutes
Cure: 8-12 hours
Steps:
- Remove the old, deteriorated PU coating with a dry brush and isopropyl alcohol.
- For extreme cases, soak the tent in water, Revivex Pro Cleaner or mild soap, and an isopropyl alcohol mixture to remove the old PU coating.
- Once the surface is clean and dry, shake Seam Grip TF, then press the sponge down and squeeze to saturate the applicator.
- Apply a thin, even coat across the fabric inside the tent. A single coat works best.
- Test dryness after four hours and wait 24 hours before storing the tent.

Pro Tip: It’s time to replace factory PU coating when it starts to peel and flake off. It may also become sticky or develop a foul odor.


